

Installing a window air conditioner can keep your home cool and comfortable during hot weather. This guide will walk you through the entire process with clear and simple steps. By the end, you’ll have your window air conditioner installed safely and ready to use.
What You’ll Need Before Installation
Before you start installing your window air conditioner, gather these tools and materials:
-
Window air conditioner unit
-
Measuring tape
-
Screwdriver (usually Phillips head)
-
Level
-
Weather stripping or foam seal
-
Mounting brackets or support brackets (if needed)
-
Screws and bolts (often come with the unit)
-
Helper (optional but recommended)
Step 1: Choose the Right Window
Pick a window that can support the weight of your window air conditioner. Ideally, select a window facing outside with enough space around it for proper ventilation. The window should open easily and have a sturdy frame.
Step 2: Measure the Window and Air Conditioner
Use the measuring tape to check the width and height of the window opening. Compare this to the dimensions of your window air conditioner. Make sure the unit will fit well without forcing it in. Proper fit helps the unit work efficiently.
Step 3: Prepare the Window
Open the window and clean the sill and frame to remove dirt and debris. This helps create a good seal and prevents damage. If your window air conditioner comes with weather stripping or foam, apply it along the edges of the window frame. This blocks air leaks and keeps bugs out.
Step 4: Place the Window Air Conditioner in the Window
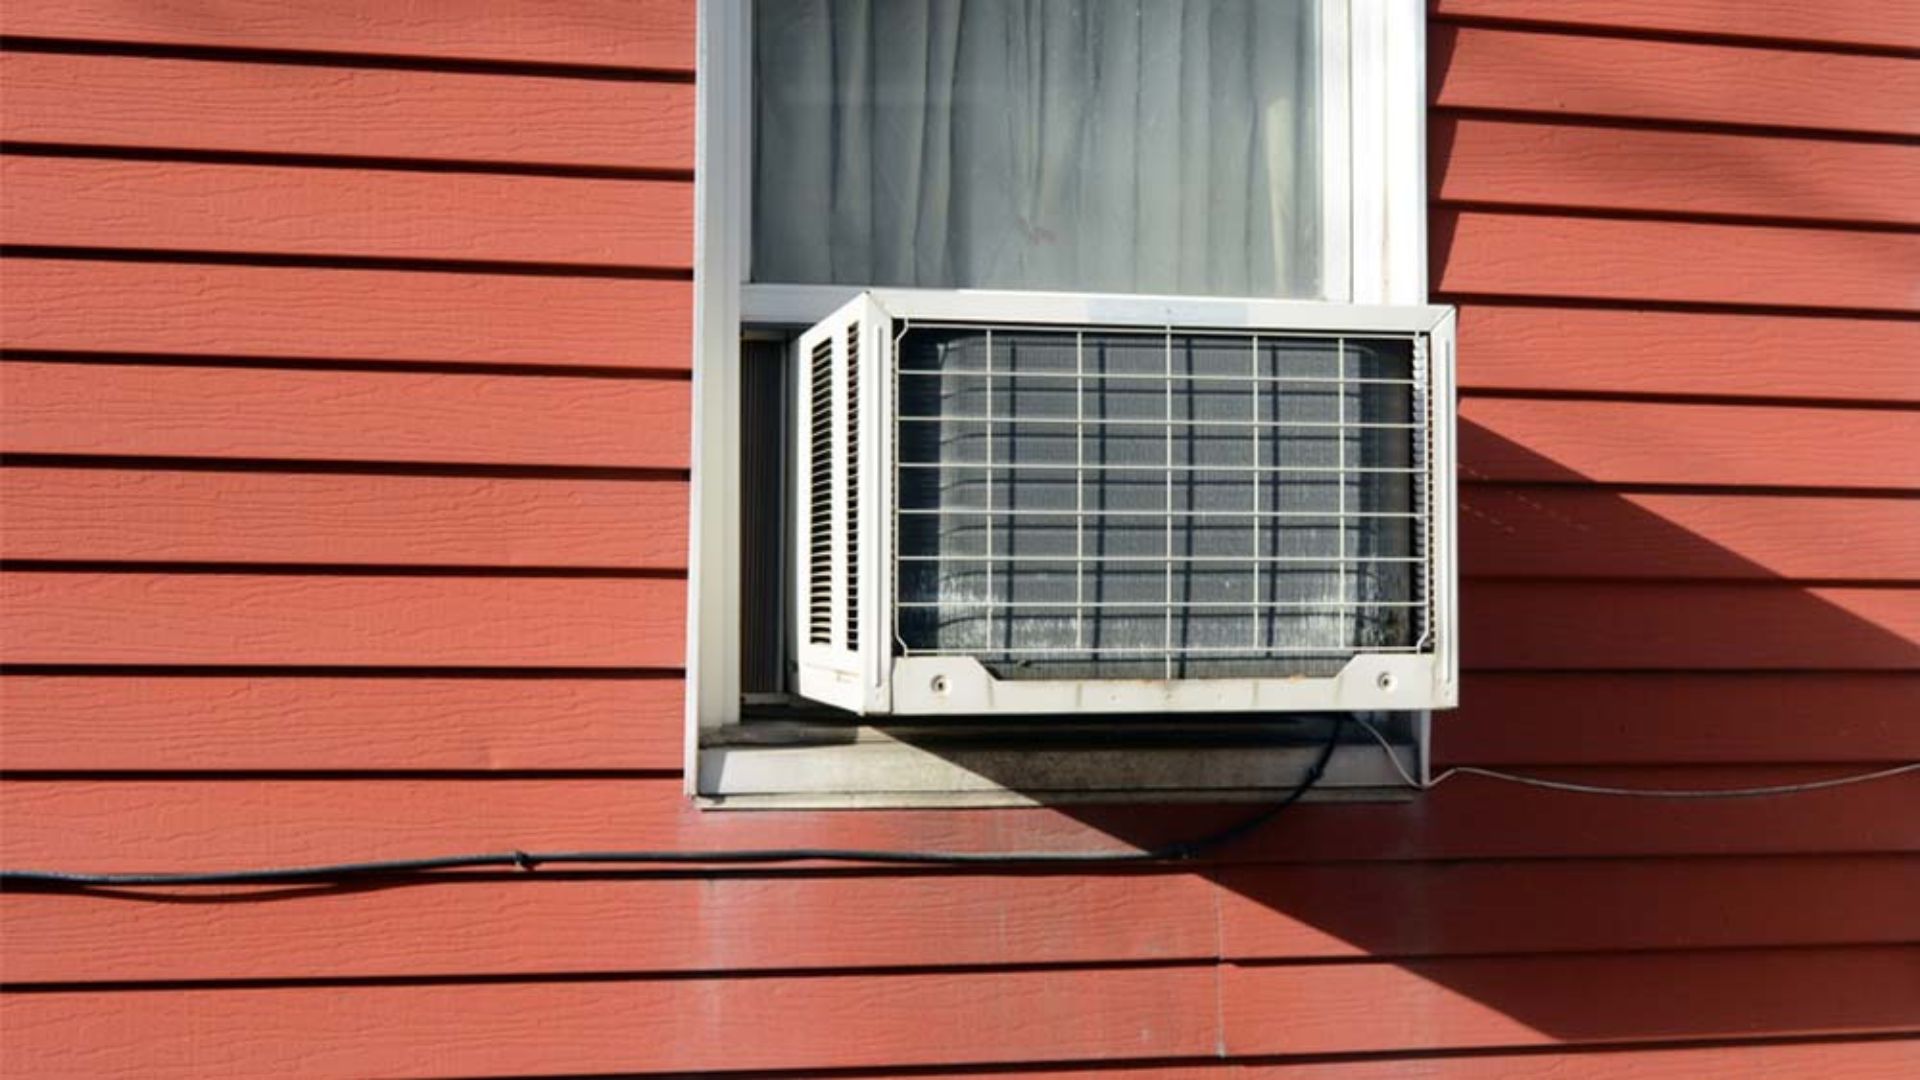
With help if needed, lift the window air conditioner and place it on the windowsill. The back of the unit should sit outside the window to release hot air. Lower the window sash carefully behind the unit to hold it in place.
Step 5: Secure the Unit
Most window air conditioners come with mounting brackets or support brackets. Attach these to the window frame according to the manufacturer’s instructions. Use a level to make sure the air conditioner tilts slightly outside — this allows water to drain away. Tighten screws to keep the unit stable and prevent it from falling.
Step 6: Seal Around the Air Conditioner
Use foam panels or weather stripping to fill gaps between the window sash and the unit. This seals the window tightly, stops air leaks, and improves cooling efficiency. Press the foam firmly, but avoid blocking any vents.
Step 7: Plug In and Test
Plug the window air conditioner into a nearby outlet. Turn it on and test different settings. Listen for unusual noises and check if cool air blows properly. Adjust the tilt or seals if needed.
Tips for Maintaining Your Window Air Conditioner
Proper maintenance of your window air conditioner not only keeps it running efficiently but also extends its life. Here are three essential tips, explained in detail, to help you take better care of your unit year after year.
Clean or Replace the Air Filter Regularly
The air filter is one of the most important components of your window AC. It traps dust, allergens, and debris from entering your living space. A clogged filter restricts airflow, reduces efficiency, and can lead to higher energy bills.
Inspect and Seal the Gaps Around the Unit
Proper sealing around your window air conditioner ensures that cool air stays in and warm air, moisture, and pests stay out. Over time, the foam seals or caulking around the unit may wear down or loosen.
Clean the Coils and Exterior Vents
The evaporator and condenser coils can collect dirt and debris over time, which reduces the system’s ability to absorb and expel heat.
-
Evaporator Coil (Inside):
-
Gently vacuum or brush the coil to remove dust buildup.
-
Be careful not to bend the fins.
-
-
Condenser Coil (Outside):
-
Clean it with a soft brush or cloth.
-
Remove leaves, twigs, and debris from the outer part of the unit.
-
Conclusion
Installing a window air conditioner doesn’t have to be difficult. By following these clear steps, you can set up your cooling unit safely and efficiently. This simple installation will help keep your home comfortable during hot months. Remember to measure carefully, secure the unit properly, and seal all gaps for the best results.


