
Installing an air conditioner properly is essential for optimal performance, energy efficiency, and long-term reliability. Whether you’re upgrading your old system or installing a new unit, following a clear step-by-step process ensures the AC works efficiently and keeps your home comfortable.
1. Choose the Right AC Unit
The first step is selecting the correct air conditioner for your home. Consider:
-
Unit size: Calculate your home’s cooling load to avoid an undersized or oversized system.
-
Type of AC: Window units, split systems, and central ACs have different installation requirements.
-
Energy efficiency: Look for units with a high SEER rating to save on energy bills.
Selecting the right unit sets the foundation for a successful installation.
2. Prepare the Installation Area
Before installing, clear the area for both indoor and outdoor units. Ensure:
-
Outdoor units have proper ventilation and a stable, level surface.
-
Indoor units are positioned to provide even airflow and easy access for maintenance.
-
All necessary electrical connections are nearby and meet manufacturer requirements.
Preparation prevents complications during the installation process.
3. Install the Mounting Brackets and Supports
For wall-mounted or split AC systems:
-
Securely attach brackets to support the indoor unit.
-
Ensure the brackets are level to avoid water drainage problems.
-
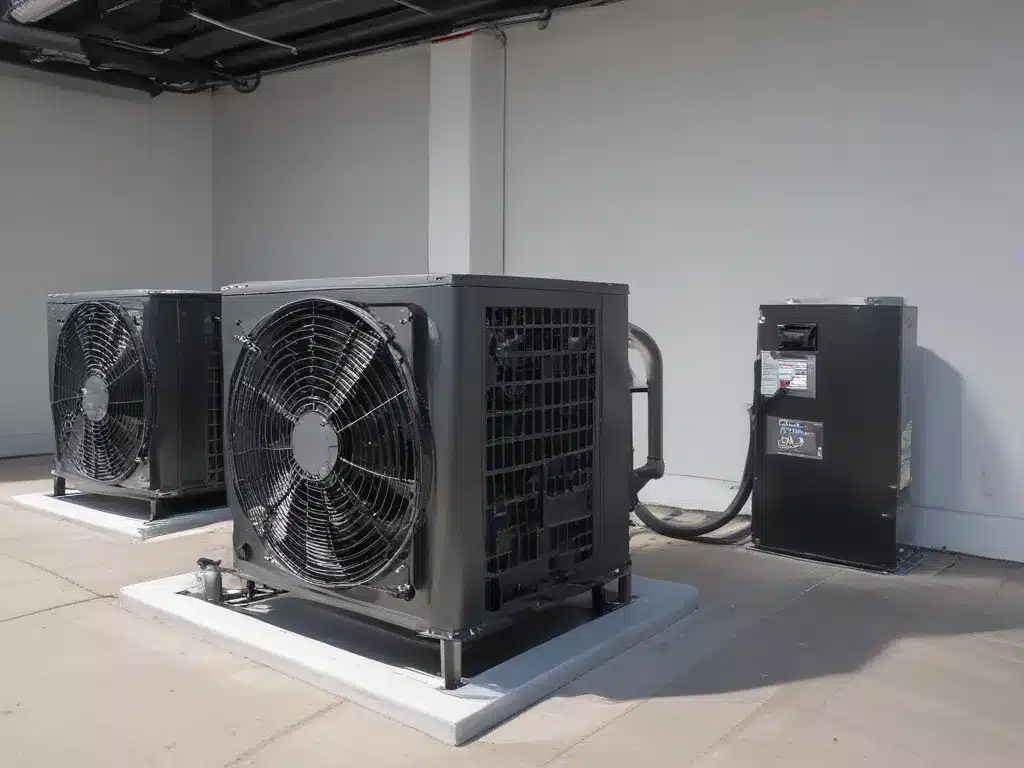
For outdoor units, use a stable pad or platform to prevent vibrations and water damage.
Proper support guarantees stability and system longevity.
4. Connect the Refrigerant Lines
Refrigerant lines transfer cooling between the indoor and outdoor units:
-
Measure and cut the copper lines accurately.
-
Insulate the lines to prevent energy loss and condensation.
-
Check for leaks before finalizing connections.
Handling refrigerant correctly is critical for system efficiency and safety.
5. Install the Electrical Wiring
Electrical connections provide power and control signals:
-
Follow the manufacturer’s wiring diagram precisely.
-
Connect the indoor and outdoor units to the dedicated circuit breaker.
-
Ensure proper grounding to prevent electrical hazards.
Proper wiring ensures safe and reliable operation.
6. Mount the Indoor and Outdoor Units
Once the connections are ready:
-
Carefully position the indoor unit on its bracket, ensuring it is level.
-
Place the outdoor unit on its pad, maintaining clearance for airflow and maintenance.
-
Secure both units according to manufacturer specifications.
Correct placement maximizes airflow, cooling efficiency, and system lifespan.
7. Test the System
Before finalizing installation:
-
Turn on the AC and check airflow, temperature, and noise levels.
-
Verify thermostat settings and calibrate if necessary.
-
Inspect for leaks, vibrations, or unusual sounds.
Testing ensures the system operates at peak performance from the start.
8. Perform Final Adjustments
Make necessary adjustments for optimal efficiency:
-
Seal any gaps in ductwork or around piping.
-
Ensure the condensate drain is clear to prevent water damage.
-
Confirm all panels, screws, and connections are secure.
These final touches prevent future issues and improve reliability.
9. Schedule Regular Maintenance
After installation, schedule routine professional maintenance:
-
Clean or replace filters every 1–3 months.
-
Inspect coils, fans, and electrical components annually.
-
Check refrigerant levels and overall system performance.
Regular maintenance prolongs system life and ensures consistent cooling.
Conclusion
Following a step-by-step process for AC installation ensures optimal cooling efficiency, safety, and long-term reliability. From selecting the right unit to proper mounting, wiring, refrigerant handling, and testing, each step matters. Professional installation is highly recommended for split systems and central ACs to avoid mistakes and maintain warranty coverage. By following these steps, homeowners can enjoy a comfortable, energy-efficient, and reliable cooling system for years to come.